I create a lot of custom hardware using a pretty wide range of materials. This is my 6 step guide to making controllers:
1.
Game Inputs
 Skill.
 If the game requires skill or dexterity it will be less accessible, but also require a more comfortable and usable controller. This is the most important aspect of the entire project and will set the constraints going forward.
Minimum Viable Controls. Working with the developer, decide what is the simplest control scheme. Remove anything superfluous. A good example is removing the side and back movement from first person controls and just keeping the forward as a single “walk” button.
On/Off. If possible, ensure all inputs are digital (0 or 1) as opposed to analogue (0 to 1). This allows easy translation to switches of all kinds and easy translation to the software. Ideally this is set at the development stage of the software, but it can be achieved with utilities if necessary.
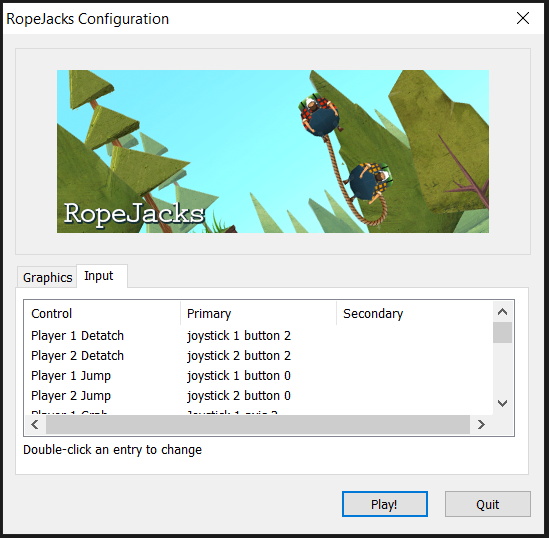
Mapping. It can make things a little easier if inputs are mapped to alphanumeric keyboard keys, as some encoders have issues with keys such as Shift or even Arrow keys. Ideally the software includes the ability to remap all inputs, or the developer can create an exhibition build.
See Games for more info on software and exhibition builds!
Top
2.
Buttons
 Durability.
 Determine the required durability by considering how long the controller will be used and under what conditions. Discuss with the client to determine the technical capacity of the event staff and what would happen in case of a fault.
Arcade.If reliability is key, arcade hardware is the most fit for purpose. It has been tested for decades and will survive almost anything. However, it’s boring, so keep that in mind.
Non-Arcade. Look to other industries and technologies for interesting hardware, if it can be boiled down to making two conductors touch, it can be used as an easy input.
Function. The goal is to use inputs that relate to the function. This could be the look of the component (using household light switches to activate digital lighting) or the way the user interacts (using a foot pedal to squish a digital cockroach).
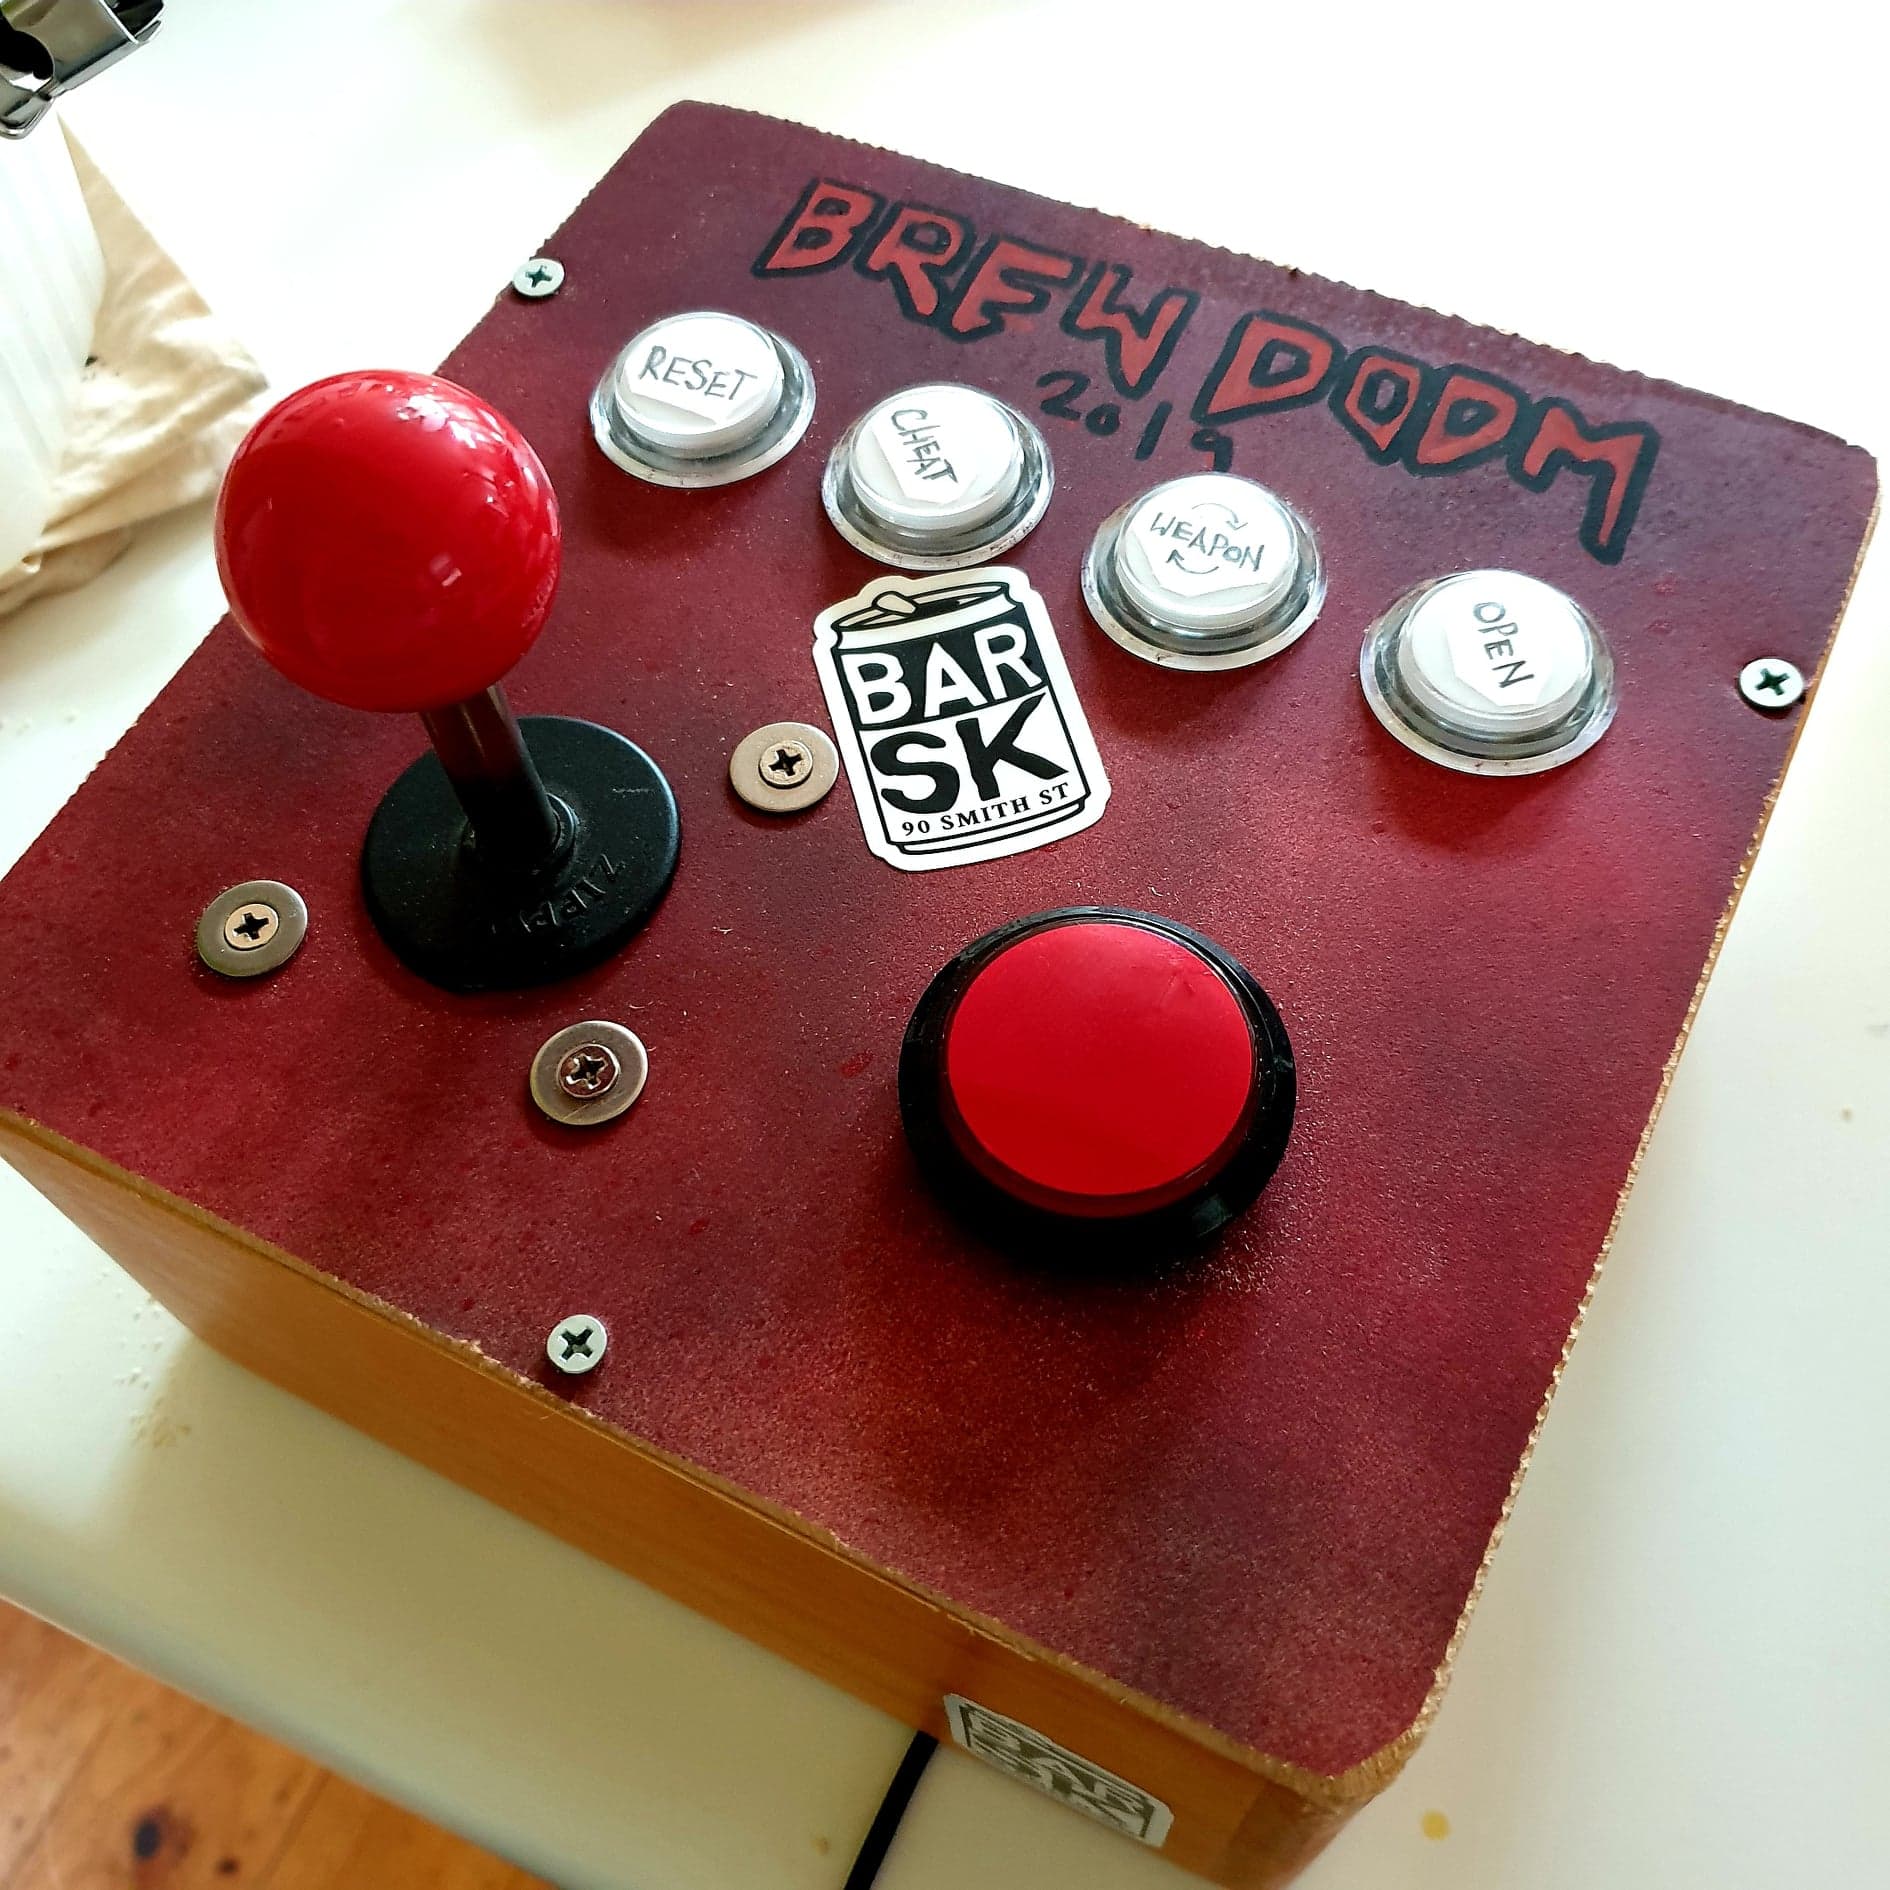
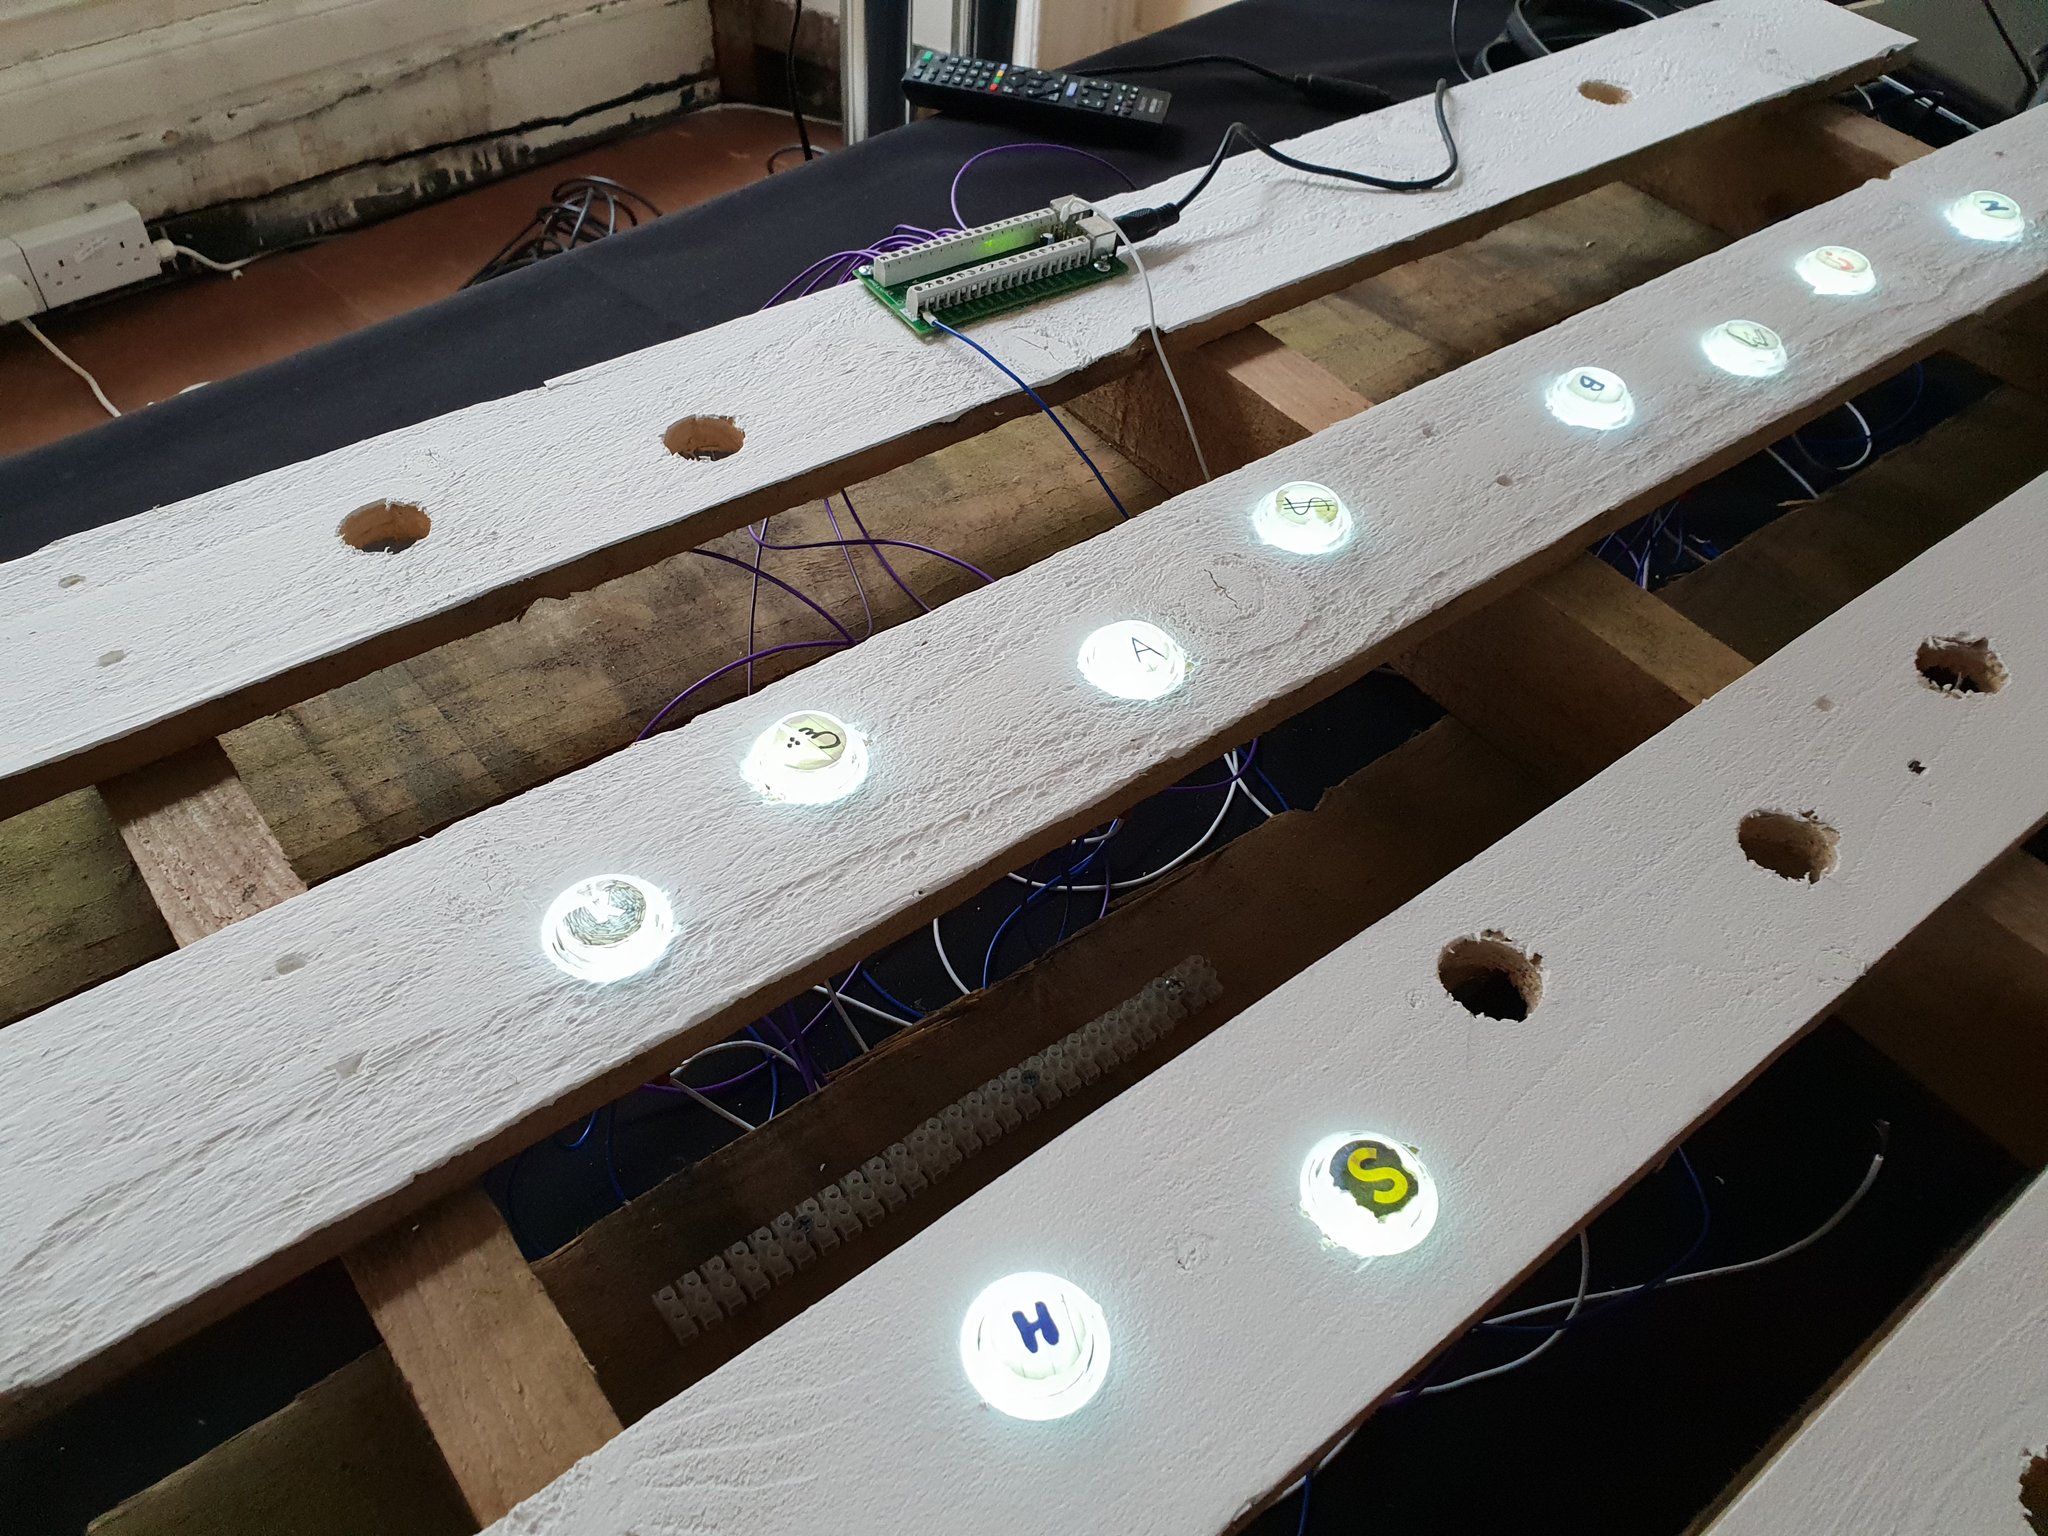
Labels. If necessary, components can be labelled. This may be able to cut down on some of the UI elements of the software, giving a more immersive experience.
Top
3.
Build
 Theme.
 Discuss with developer and client to determine the theme of the software and event. Throw around some materials, colours, textures and styles.
Structure. Look for pre-existing furniture that can be modified at second hand stores, Ikea, hardware stores, roadside collection. Having a base piece will not only save time, it will incorporate features and decorative elements that would not be considered otherwise.
Surfaces. Consider where the components will be incorporated into the structure. New surfaces may need to be added, or existing surfaces modified to access the rear. Surfaces can be up to 20mm thick for standard arcade buttons, but need to be much thinner for joysticks.
Drinks. Users do more than just play with controllers, they sit, converse, check their phone, and drink. Providing a surface to hold drinks or phones or gallery catalogues will help to include more aspects of players into the design.
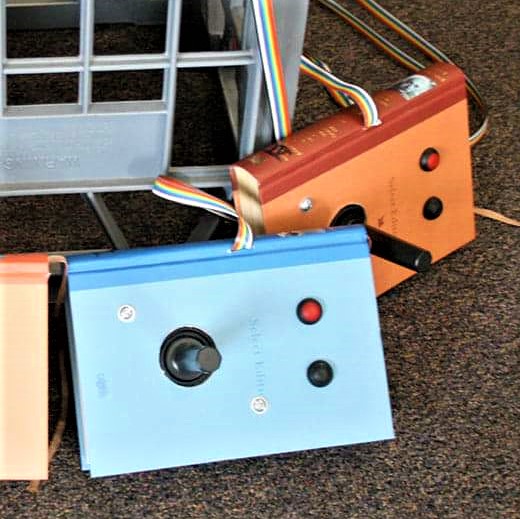
Transport. A good controller will break down into a panel and supports. The easier a piece is to transport the less likely it will be damaged. A good example is a simple wooden box controller on a plinth. It may use a plinth provided by the event, a table, or a stack of milk crates.
Top
4.
Modify
 Mark.
Mark. Place and mark the locations for components considering if the player should be comfortable or not. A comfortable controller will disappear, so embrace discomfort.
Allowances. Mark where the encoder will be, where the wires will run, and whether or not the controller will house the computer/media player. Keep in mind the depth of the components and access for connections.
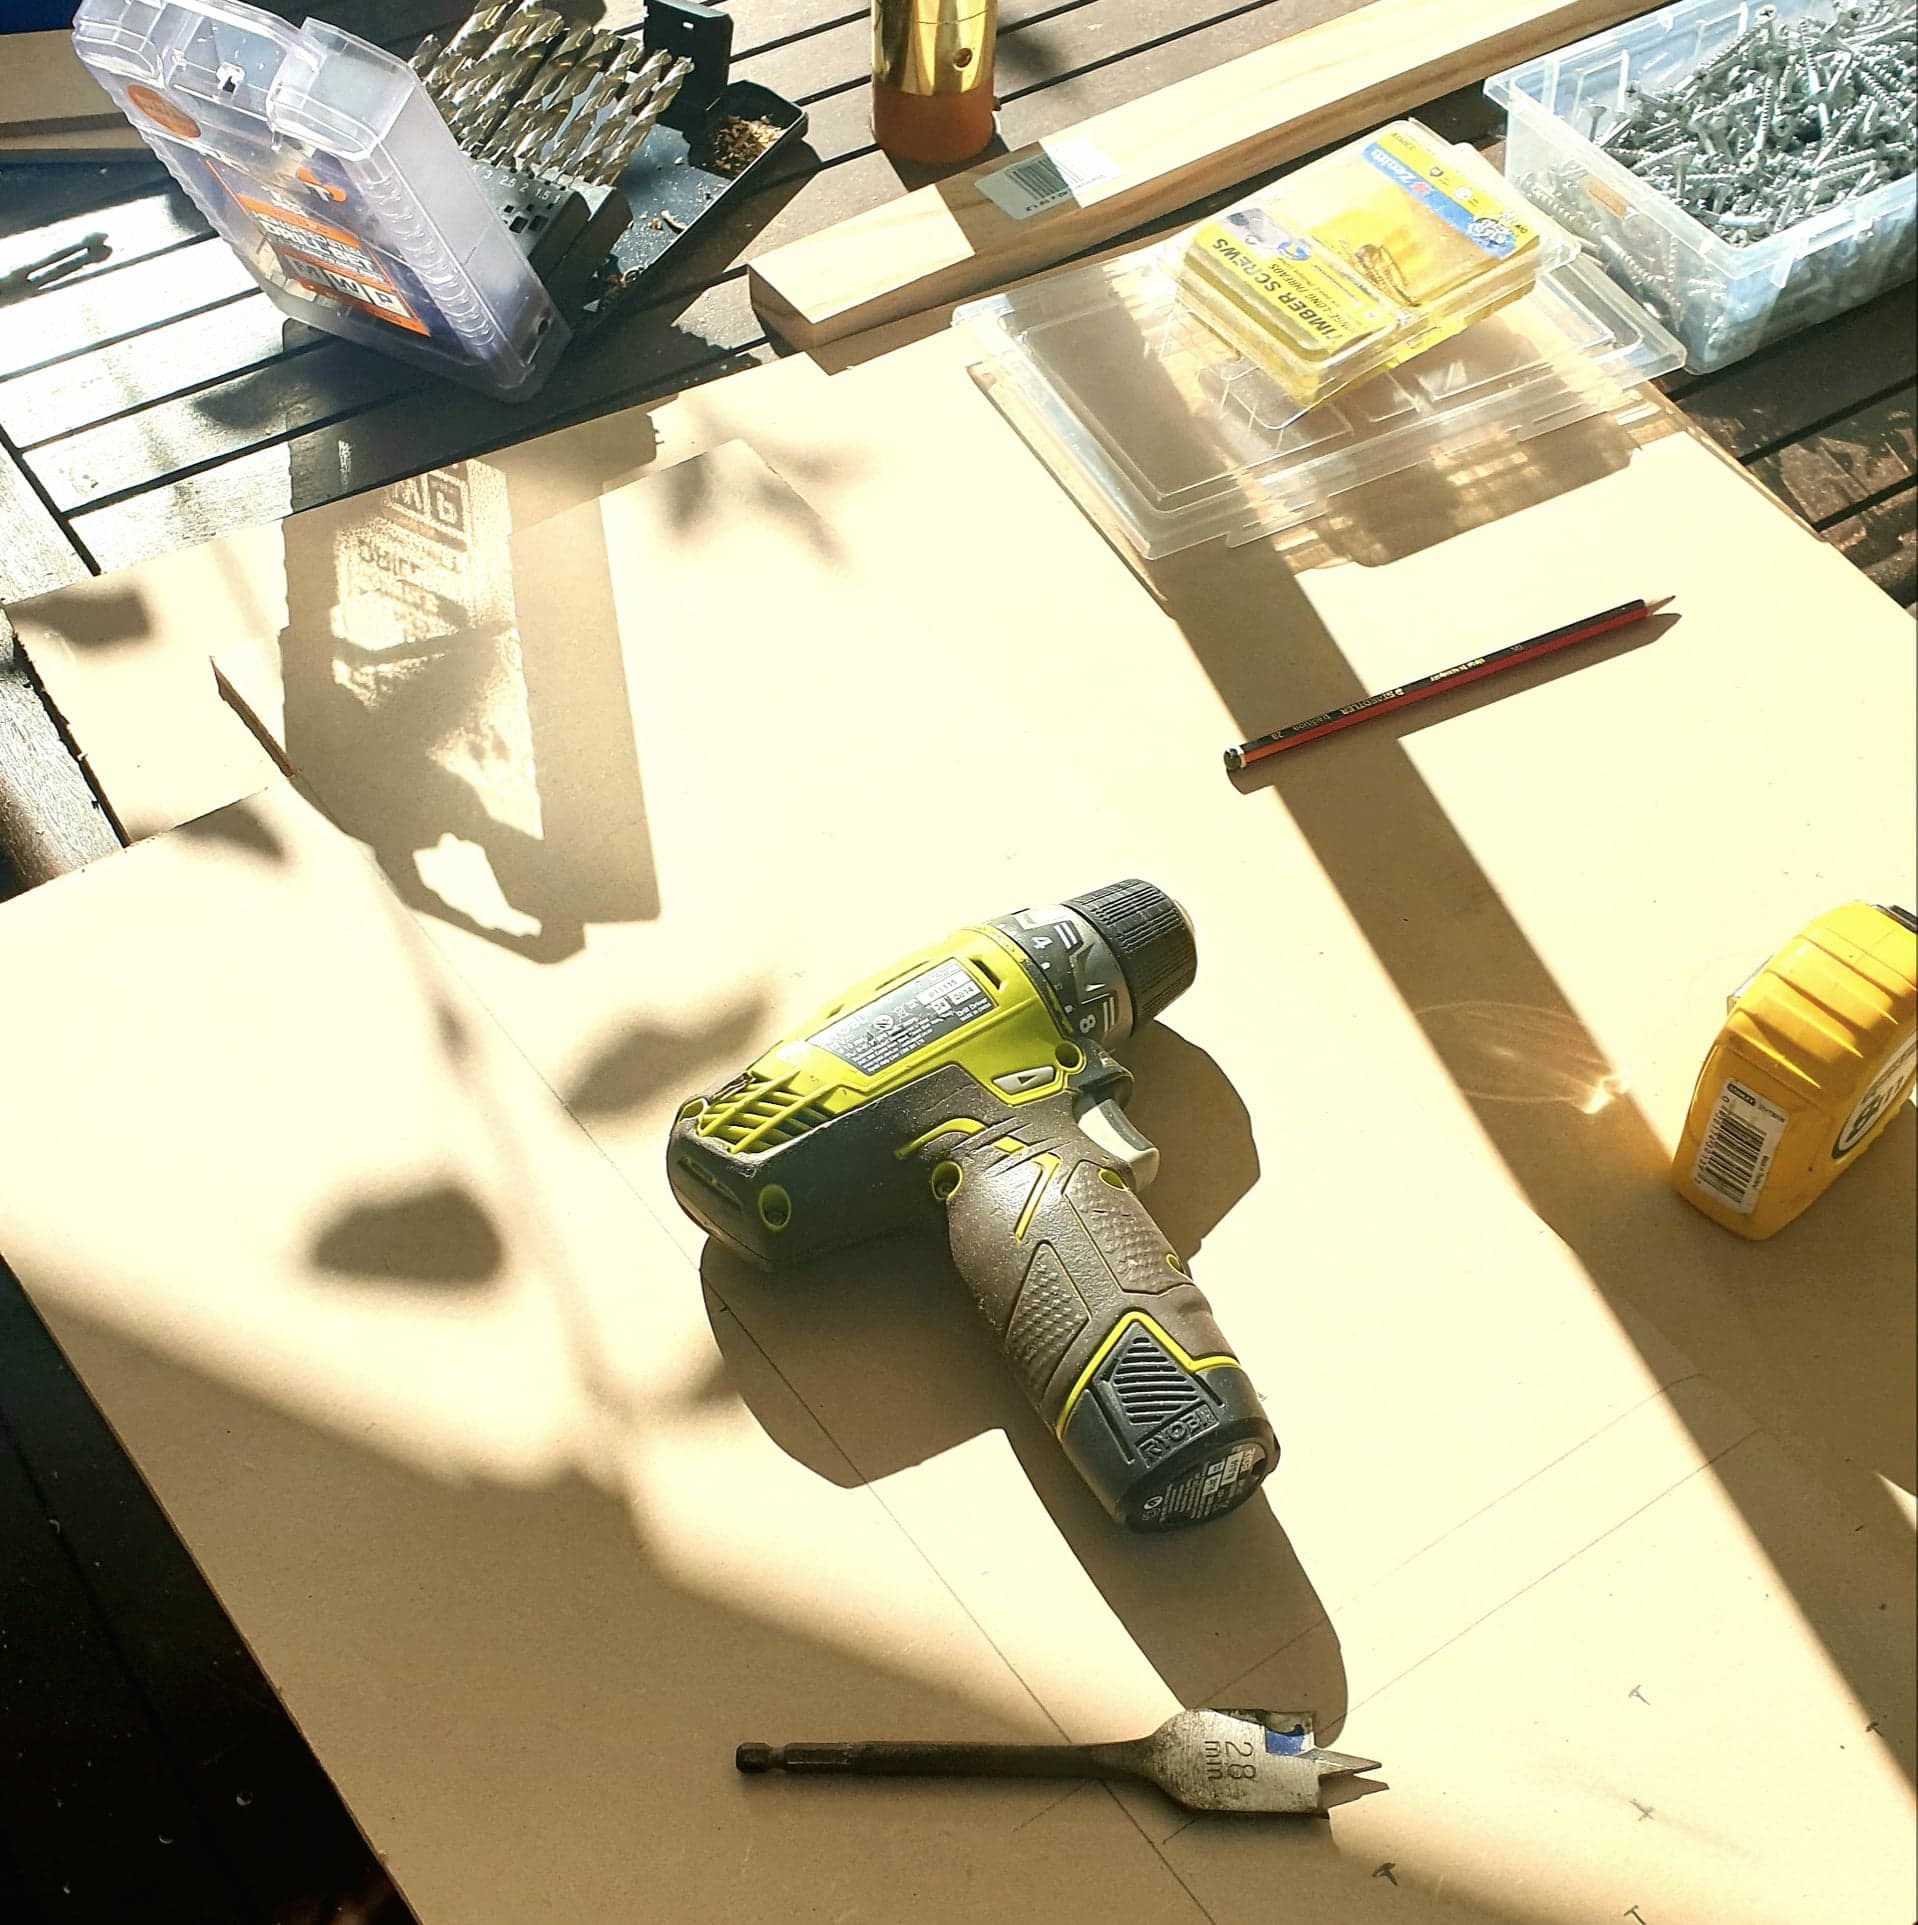
28mm Spade Bit. The best bit to easily create holes in wood or acrylic. I have gone through so many of these. This size will fit regular arcade buttons and give a good clearance for joysticks.
Install. Any painting or varnishing should be done at this point just before installing the components. Ideally install all components before any wiring, allowing it to be cut to length for a neater presentation.
Top
5.
Wiring
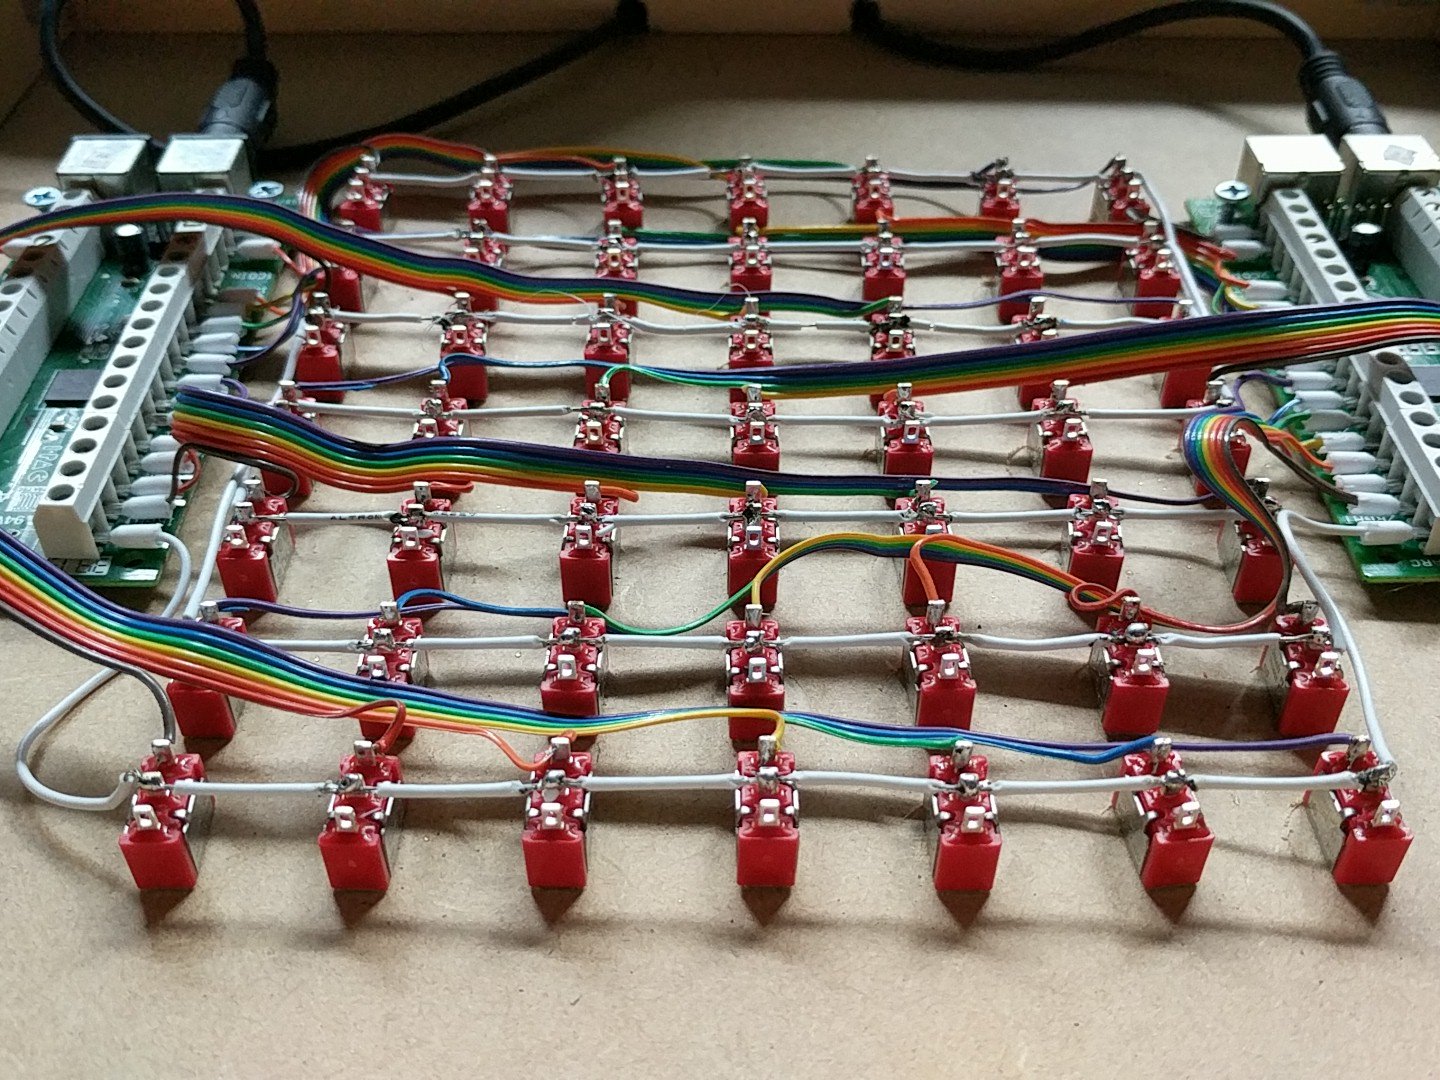 Solderless.
 By using encoders with terminal strips and spade bit connectors, arcade wiring can be totally solderless, which is ideal for reusing components and allows for easier maintenance during play. However…
An Easy Connection is a Bad Connection. Using crimps that are slightly too large may be easier to attach, but of course they fall off at the most inconvenient moments. When in doubt, give the wires a tug, it’s always easier to redo the connection at this point than any other.
Ferrules. It’s best practice to use ferrules for connections into terminal strips to prevent wayward strands shorting out circuits. Keeping high standards will keep the client confident.
Keep it beautiful. Run cables straight and neat, with crossing/twisting only when absolutely necessary. Ideally every cable can be followed by eye. Use multi core cables when possible, and keep a consistent colour scheme across projects. Use cable ties and adhesive anchor points.
Top
6.
Finishing Touches
 Program.
 Connect the encoder and program the buttons, fixing any sticky or unreliable switches.
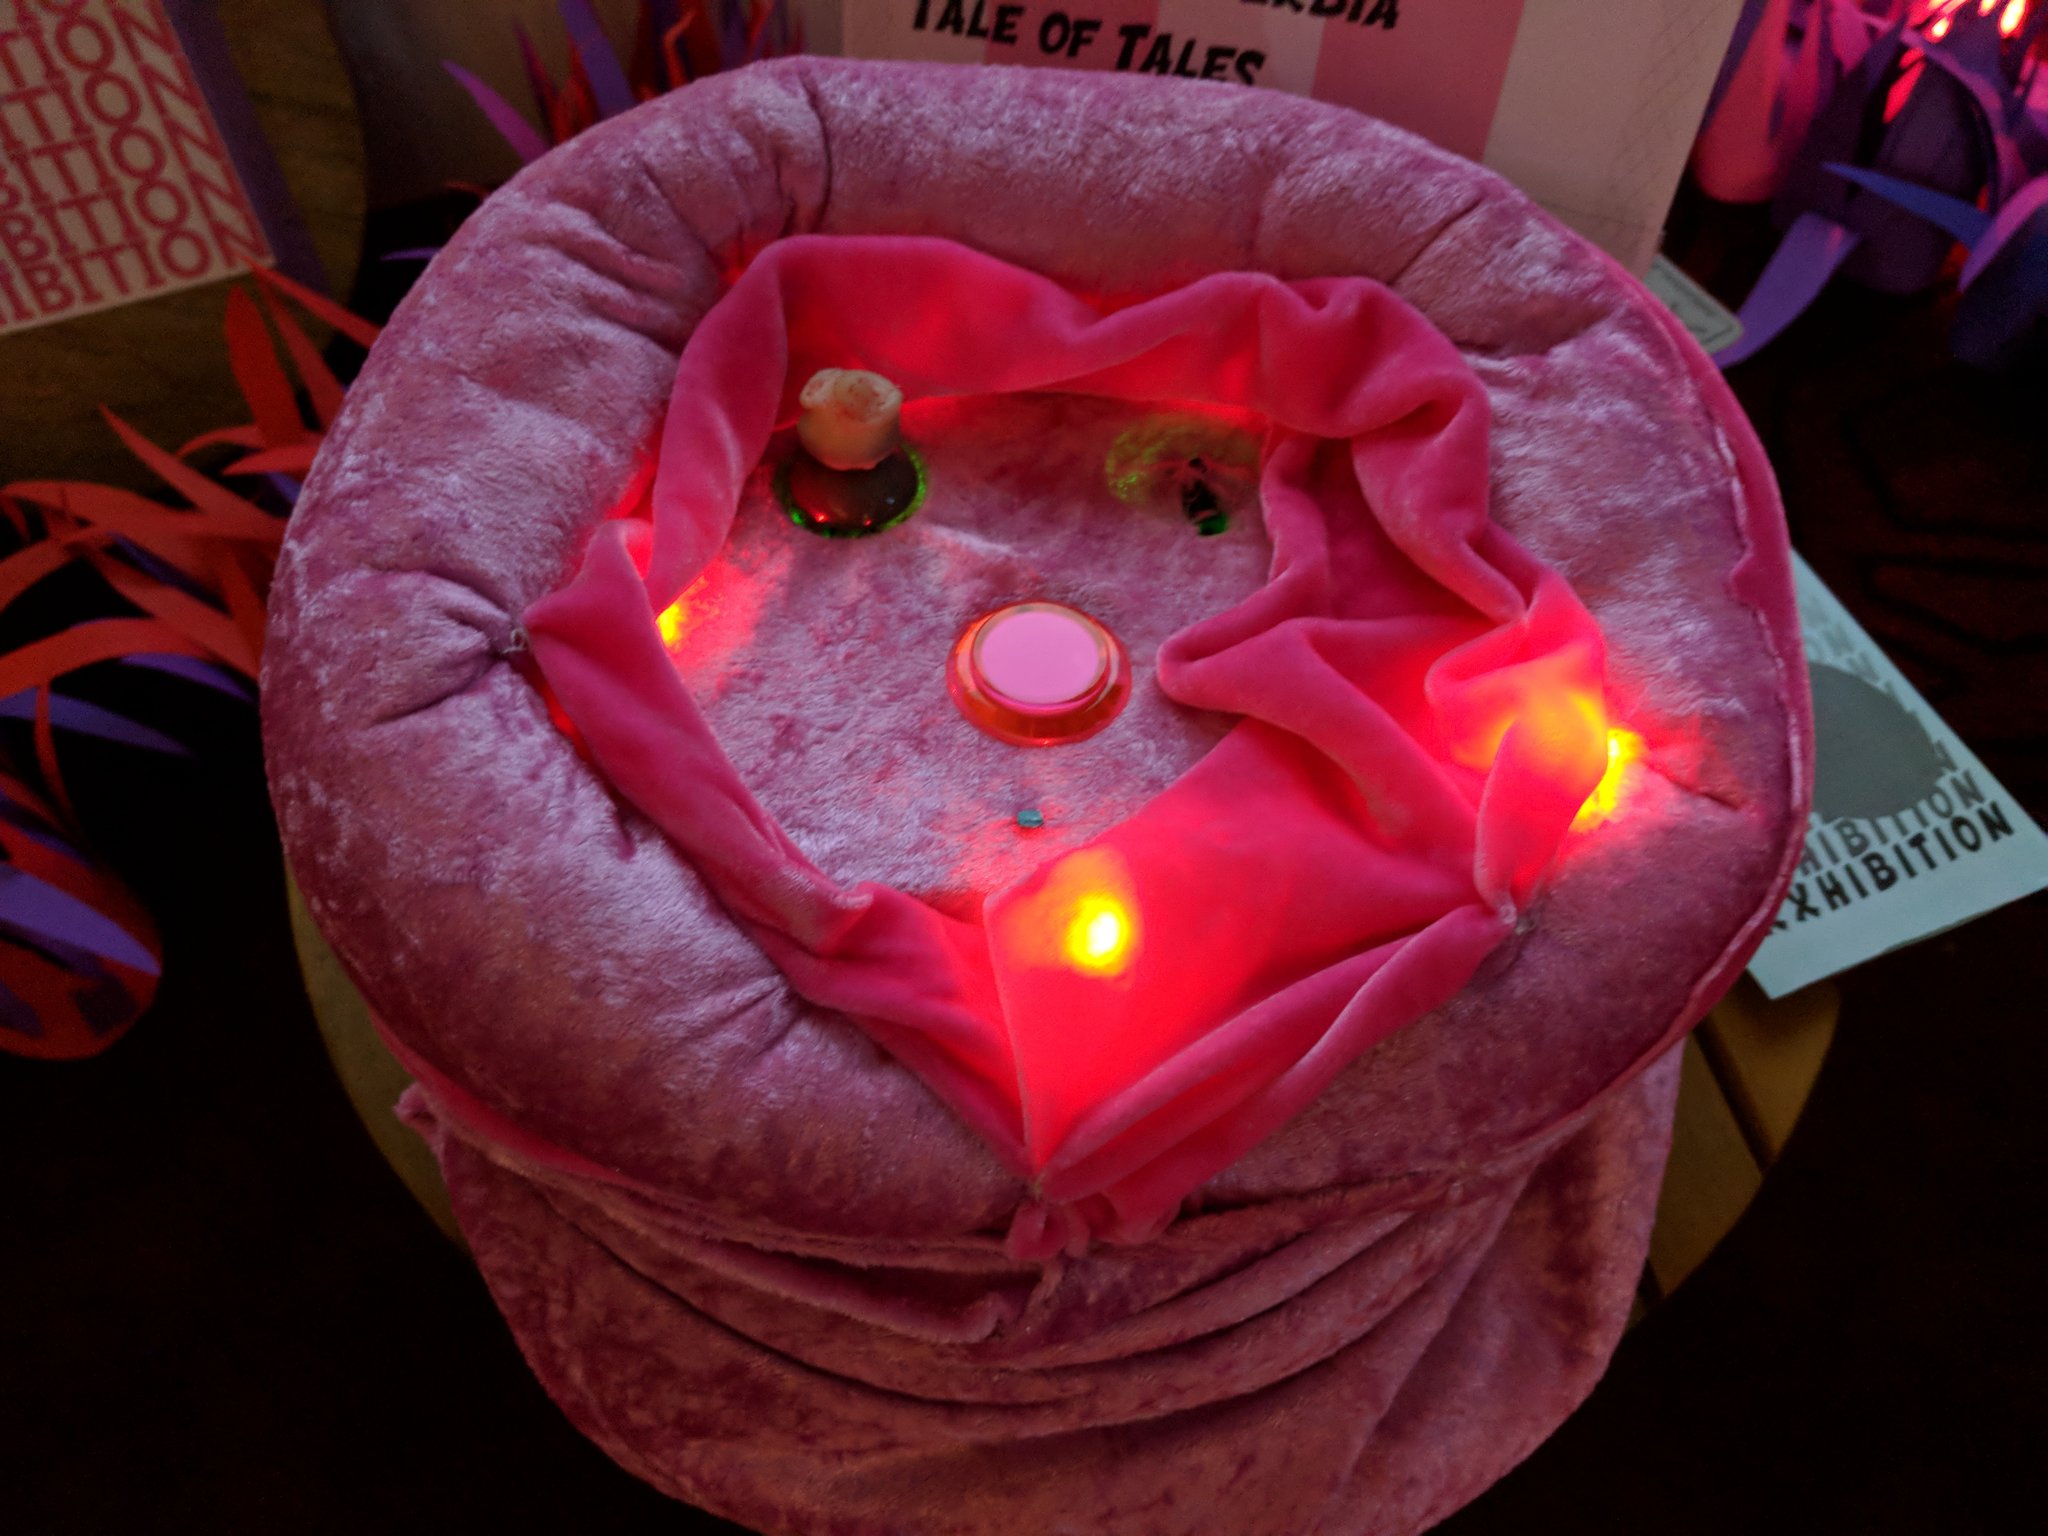
Lights. Illuminated buttons can be powered from the encoder or attached to a separate 5V USB power. Other LEDs can be installed with USB power. If using 240V power, keep the power supply inaccessible to players.
Decorate. Add paint, corner moulding, wire wrapping, any coverings to give a more seamless presentation. Embellish with fabrics, labels, toys, anything that fits the theme and enhances the interaction.
Top
Appendix.
Examples